How to connect a hardware synth to your DAW: audio, MIDI and clock sync
A step-by-step guide to connecting a hardware synth to your DAW: audio cabling, USB audio, MIDI types, external instrument setup, latency, clock sync and fixes.
To connect a hardware synth to a DAW you need two paths: an audio path that brings the synth’s sound into your computer (line outputs into an audio interface, or USB audio if the synth supports it) and a MIDI path that lets the DAW play and control the synth (USB-MIDI, 5-pin DIN or 3.5mm TRS). Once both are in place, you set up a MIDI track that sends notes to the synth and an audio track, or an external instrument device, that records what comes back.
Most problems come from the details: hot levels, ground loop hum, the wrong TRS MIDI adapter or recordings that land a few milliseconds late. This guide covers the chain in order and ends with a troubleshooting checklist.
An audio interface with at least one line input per synth output you want to record (two for stereo). Skip this if your synth streams audio over USB and you only need that one synth.
Audio cables that match your synth’s outputs: 1/4-inch TS or TRS for most keyboards, 3.5mm stereo-to-dual-1/4-inch for many compact synths.
A MIDI connection: a USB cable that carries data (not a charge-only cable), a 5-pin DIN cable plus a MIDI interface, or the correct TRS adapter.
How to connect a hardware synth to a DAW, step by step
Connect the audio outputs to your interface. Run the synth’s main outs into line inputs on your interface. Mono synths need one input and a mono track; true stereo synths need two inputs and a stereo track. Set the interface inputs to line level, not instrument (Hi-Z) or mic.
Set your gain staging. Turn the synth’s master volume up to around three quarters, then raise the interface input gain while playing the loudest patch you use, with full velocity and filter open. Aim for peaks around -12 to -6 dBFS in the DAW.
Use balanced cables where the synth supports them. If the synth’s outputs are balanced (the manual will say so, and the jack will be TRS), use TRS-to-TRS cables into balanced interface inputs.
Make the MIDI connection. Pick one MIDI route per synth (details below).
Set the synth’s MIDI channel and turn Local Control off. If you play the synth’s own keys into the DAW and the DAW echoes the notes back, switch Local Control off to avoid doubled, flanging notes.
Create the instrument in your DAW. Either add an external instrument device (Ableton Live, Logic Pro, Cubase Pro, Bitwig, Fender Studio Pro) or use a MIDI track plus an audio track (Reaper, FL Studio, or any DAW without a dedicated device). See the DAW table below.
Calibrate latency. Record a short percussive note on the grid and check how far behind the beat it lands, then correct it with the DAW’s hardware latency or recording offset setting.
Set up clock sync if the synth has a sequencer, arpeggiator or tempo-synced LFOs. Make the DAW the clock master and the synth the follower.
Record MIDI first, then print audio. Keep the performance as MIDI while you edit, then record the synth’s audio to a track once the part is final.
Back up your patches. Save a SysEx dump or use the manufacturer’s librarian so your sounds are recoverable with the project.
Audio path details
Mono vs stereo
A lot of hardware is mono at heart. The M-VAVE FM-1, for example, has a 3.5mm stereo output, but at launch its engine and effects were mono, so both channels carried the same signal (firmware v16 later added a shared stereo effects chain). Polysynths with stereo chorus or panned voices are different: a Juno-style chorus loses much of its width if you record only one side.
Ground loops and hum
Hum or buzz that changes when you touch the computer or plug in a USB cable usually means a ground loop: more than one ground path between devices. Focusrite suggests isolating the source first: unplug devices one at a time, and run a laptop on battery to see whether the hum disappears. Then try these fixes:
Plug the computer, interface, synths and monitors into the same power strip.
Use balanced cables between balanced devices, and keep audio cables away from power supplies.
Try a different USB cable, or a powered USB hub between computer and interface.
Use a ground loop isolator or a DI box with a ground lift on the offending unbalanced source.
Sound On Sound’s long-standing advice is worth repeating: never remove or defeat the safety earth on a mains plug to cure hum. Fix it on the audio side instead.
USB audio-capable synths
Many synths now act as their own audio interface over USB. Roland’s Boutique modules have long included a stereo USB audio interface (the original JU-06 was specified at 24-bit/44.1 kHz), and if you own a Roland JU-06A you can record it with nothing but a USB cable. Larger instruments like the Jupiter-Xm carry audio and MIDI over one cable, but Roland’s support pages say you need its dedicated driver and the USB driver setting on the synth switched to VENDOR.
Two terms matter here:
Class compliant means the device uses the generic USB audio and MIDI drivers built into macOS and Windows, so it works without installing anything. Some instruments are class compliant for MIDI only, not audio, and need a vendor driver to send sound.
Multichannel USB audio means the synth sends separate streams (individual tracks or voices) rather than one stereo mix. Elektron’s Overbridge is the best-known example. Machines like the Digitone Keys can deliver separate tracks to the DAW through it.
Cheap synths are part of this trend too. The M-VAVE FM-1, which sells for around $70 on AliExpress as of mid-2026 according to Synth Anatomy’s review, works as a USB audio interface and sends MIDI over the same USB-C cable. On Windows, generic USB audio drivers can have higher latency than a proper ASIO driver, so if you hear lag while monitoring, record through the USB connection but monitor from the synth’s headphone output.
The MIDI path: USB, 5-pin DIN or TRS
Connection
Best for
Watch out for
USB-MIDI
One or two modern synths, no extra hardware, often carries audio too
Charge-only cables; some synths stop sending clock or SysEx over USB unless enabled in a menu
5-pin DIN
Vintage gear, daisy-chaining via MIDI Thru, tight timing from a dedicated MIDI interface
Needs a MIDI interface or an audio interface with MIDI ports
3.5mm TRS (Type A or B)
Compact synths and controllers with no room for DIN jacks
Type A and Type B are wired differently and are not interchangeable without the right adapter
The TRS issue causes more confusion than anything else in a small studio. The MIDI Association published its TRS standard in 2018, and that wiring is now called Type A (Korg and Make Noise use it, for example). Some earlier products from Arturia and Novation use Type B, with tip and ring swapped. Novation’s own support page notes that its newer controllers follow the 2018 standard while older devices like the original Circuit use Type B. Arturia’s MicroFreak is a common case where a generic adapter fails. Use the adapter that came in the box, or a switchable adapter that supports both types.
Setting up the instrument in common DAWs
DAW
Tool to use
Key settings
Ableton Live
External Instrument device on a MIDI track
MIDI To (port and channel), Audio From (interface inputs), Hardware Latency slider
Logic Pro
External Instrument plug-in on a software instrument track
MIDI Destination, Input; Auto-Compensate Latency
Cubase Pro
Studio > Audio Connections > External Instruments
Returns, associated MIDI device, device port; then add as a track instrument
FL Studio
MIDI Out plugin in the Channel Rack
Matching port number in MIDI Settings and the plugin; mixer insert set to the interface input
Reaper
MIDI track with a hardware MIDI output, plus an audio track with input monitoring
Recording input offset (measured with ReaInsert’s ping)
External Devices > Add, then an Aux Channel for the audio return
Send To, Receive From, MIDI Clock; Save Default so it appears under External Instruments
A few notes on specific DAWs:
Cubase: as of 2026, the External Instruments feature is in Cubase Pro only. In Artist or Elements, use a MIDI track routed to the synth and a separate audio track with monitoring on.
Logic Pro: Apple’s support note explains that Auto-Compensate Latency is always on when the synth’s audio comes back through the External Instrument’s Input menu, so Logic delays the outgoing MIDI to keep everything aligned.
Fender Studio Pro: this is PreSonus Studio One under its new name. Fender renamed it Fender Studio Pro with version 8 on 13 January 2026, and MyFender replaced MyPreSonus accounts. The External Devices workflow carried over, as the current Fender Studio Pro manual shows.
FL Studio: if you play the synth’s keys while MIDI Out sends the same notes back, turn Local Control off on the synth to avoid doubled notes.
Latency compensation
Every round trip through hardware adds delay. DAWs compensate for buffers automatically when the driver reports them accurately, but they cannot know the extra time your particular synth and conversion add.
The simplest calibration is to program a quarter-note pattern of short, sharp notes (filter envelope with zero attack), record it as audio, then zoom in and measure how far each transient sits after the grid line. Enter that number in the External Instrument’s Hardware Latency field in Live, or the equivalent in your DAW. In Reaper, the Reaper Blog’s method uses a loopback cable and ReaInsert’s ping detect to measure the interface’s offset in samples, which you then enter as the recording input offset. Recalibrate if you change the sample rate or buffer size.
Recording MIDI vs recording audio
Recording MIDI keeps the part editable: you can fix timing, change notes or swap the patch later. Recording audio commits the sound, which matters with hardware because the patch on the synth may not be there next month, and analog synths vary from pass to pass. A practical habit is to keep the MIDI track muted beside the printed audio track. If you change your mind, unmute, re-record, and you have a new take.
Clock sync: make the DAW the master
If the synth has an arpeggiator, sequencer or tempo-synced delay, send it MIDI clock from the DAW so everything follows the project tempo:
Enable clock output on the port that feeds the synth in the DAW’s MIDI or sync settings (in Fender Studio Pro it is the MIDI Clock and MIDI Clock Start options on the external device; Bitwig’s HW Instrument can send clock directly).
Set the synth’s clock source to external, USB or MIDI, depending on the connection.
Send clock only to devices that need it. Doubled clock (for example, over both USB and DIN to the same synth) makes tempos jump.
If the synth’s sequence starts a fraction late, use the DAW’s clock delay or sync offset setting to nudge it earlier.
Program changes and SysEx patch backups
Put a program change message at the start of each MIDI clip or region so the synth loads the right patch when the song plays. Check whether your synth counts patches from 0 or 1, since a one-off error is common.
For backups, most synths can send a SysEx dump of their patches. Record it with a free utility such as SysEx Librarian on macOS or MIDI-OX on Windows, or with the manufacturer’s editor if one exists, and store the file in the project folder. If you plan to try custom firmware on a synth, as many FM-1 owners do, a patch backup is the first thing to do; our FM-1 firmware install guide covers that in detail.
Troubleshooting checklist
No sound in the DAW: confirm the input is set to line level, the track input matches the physical input, and the track is armed or monitoring.
Synth not responding to MIDI: check that the MIDI channel matches, that you selected the right port, and that the USB cable carries data.
TRS MIDI does nothing: you probably have a Type A/Type B mismatch. Try the adapter that came with the synth.
Doubled or flanging notes: turn Local Control off, or stop the DAW from echoing MIDI back to the synth.
Hum or buzz: work through the ground loop steps above, starting with a shared power strip and battery power on the laptop.
Recording lands late: calibrate hardware latency or recording offset again at your current sample rate and buffer size.
Arpeggiator out of time: check that the synth is set to external clock and receiving clock from only one source.
Synth not seen by the computer at all: install the vendor driver if it is not class compliant, try another USB port, and avoid unpowered hubs.
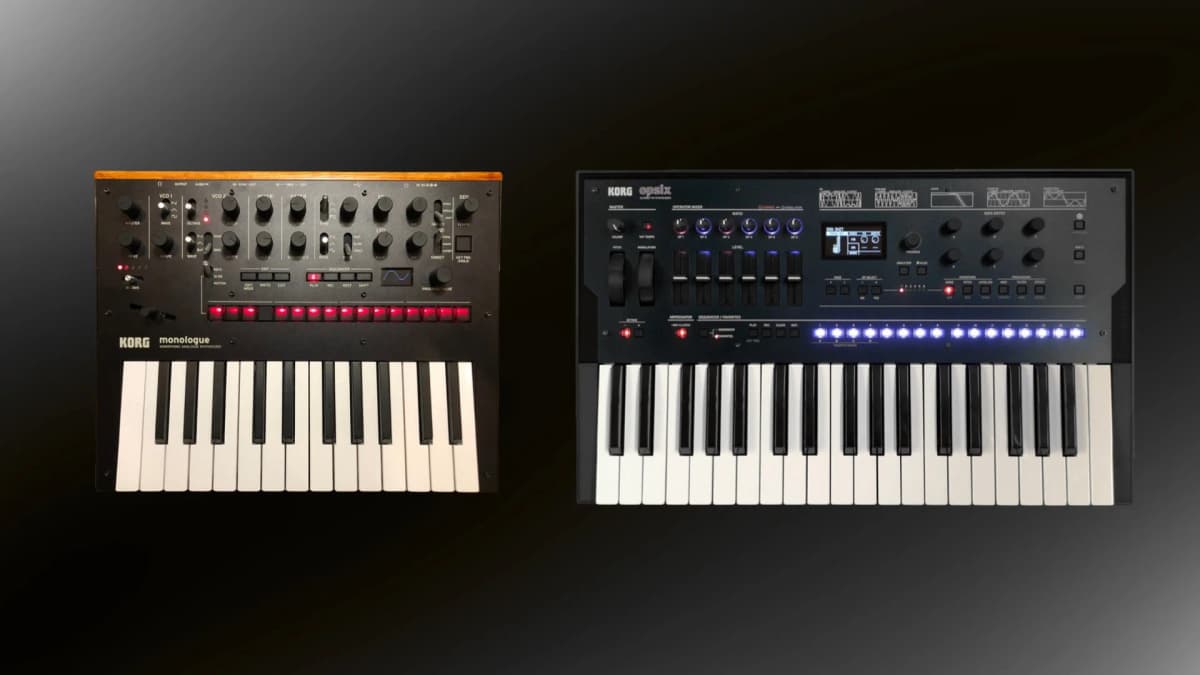
Image credits: Korg monologue photo by medicalfools / David Chancey, Wikimedia Commons, CC BY-SA 4.0; Korg opsix photo by deepsonic, Wikimedia Commons, CC BY-SA 2.0. Photos were cropped, cut out and placed on a gradient background for the featured image.
His connection with music began at age 6, in the 1980s, when his father introduced him to Jean-Michel Jarre's Rendez-Vous on vinyl. He works professionally in the legal field, while synthesizers became his space for abstraction and creative exploration. Founder of The Synth Source.